Dryer Fires
11/16/2016 (Permalink)
Did you know dryer lint is one of the leading causes of dryer failure and house fires? "How is this possible if you are clearing the lint from the filter between uses," might be a question you're asking. That is a great practice to follow, but by no means the only maintenance you can perform to keep your drying running smoothly. We are in the habit of making sure your home remains a safe haven for you and your family, especially concerning fire, as our recent campaign with the American Red Cross attests. So here are a few tips and reasons to go the extra mile when cleaning your dryer.
Yes, removing the lint from your dryer between uses is a great place to start. But did you know fabric softener can affect the usefulness of your lint filter? The next time you finish a load of laundry, remove the lint filter and clean it as you normally would. Next, run water over the filter and see if the water pools. If it does, your filter runs the risk of still clogging despite your efforts. It is an easy enough fix though so don't fret. Use a brush and warm soapy water and gently clean the filter. Try the water technique again until the water runs unimpeded. You are already much safer when running your dryer so congratulations!
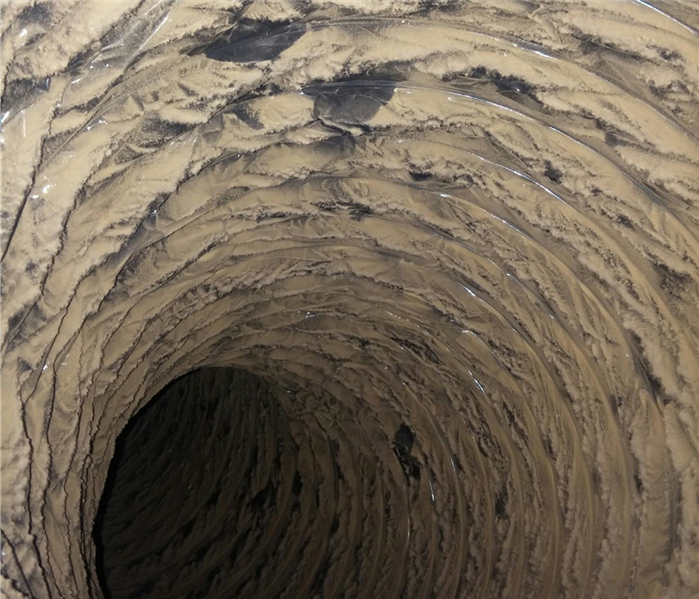
Next, unplug your dryer and disconnect the vent hose / line from the dryer. This is where the majority of fires begin - in the exhaust duct. The buildup is usually higher in flexible hoses because of the potential for excess lint to get caught in the ridges. If you can switch from a flexible duct to rigid, we highly recommend you do. Your dryer and home will thank you! Depending on how often you run the dryer, we recommend cleaning at least once a year, but have clients who clean it every season. You can measure your needs based on how much lint you find when you clean, but back to the cleaning! Take your extendable brush and gently extend it into the vent and brush the lint back towards you - pushing it further just makes it harder to reach!
Ensuring the ducts are clean and clear of obstruction is an important step and checking the dryer drum is as well. This one requires a bit more DIY so if you are not comfortable, please call a licensed handyman. Removing the top or front from the dryer (based on where the lint filter is) requires removing a few screws. Once the panel is removed, you can brush and vacuum the drum, being careful around sensitive electrical parts. Make sure to get the lint under, around and behind the unit after cleaning.


 24/7 Emergency Service
